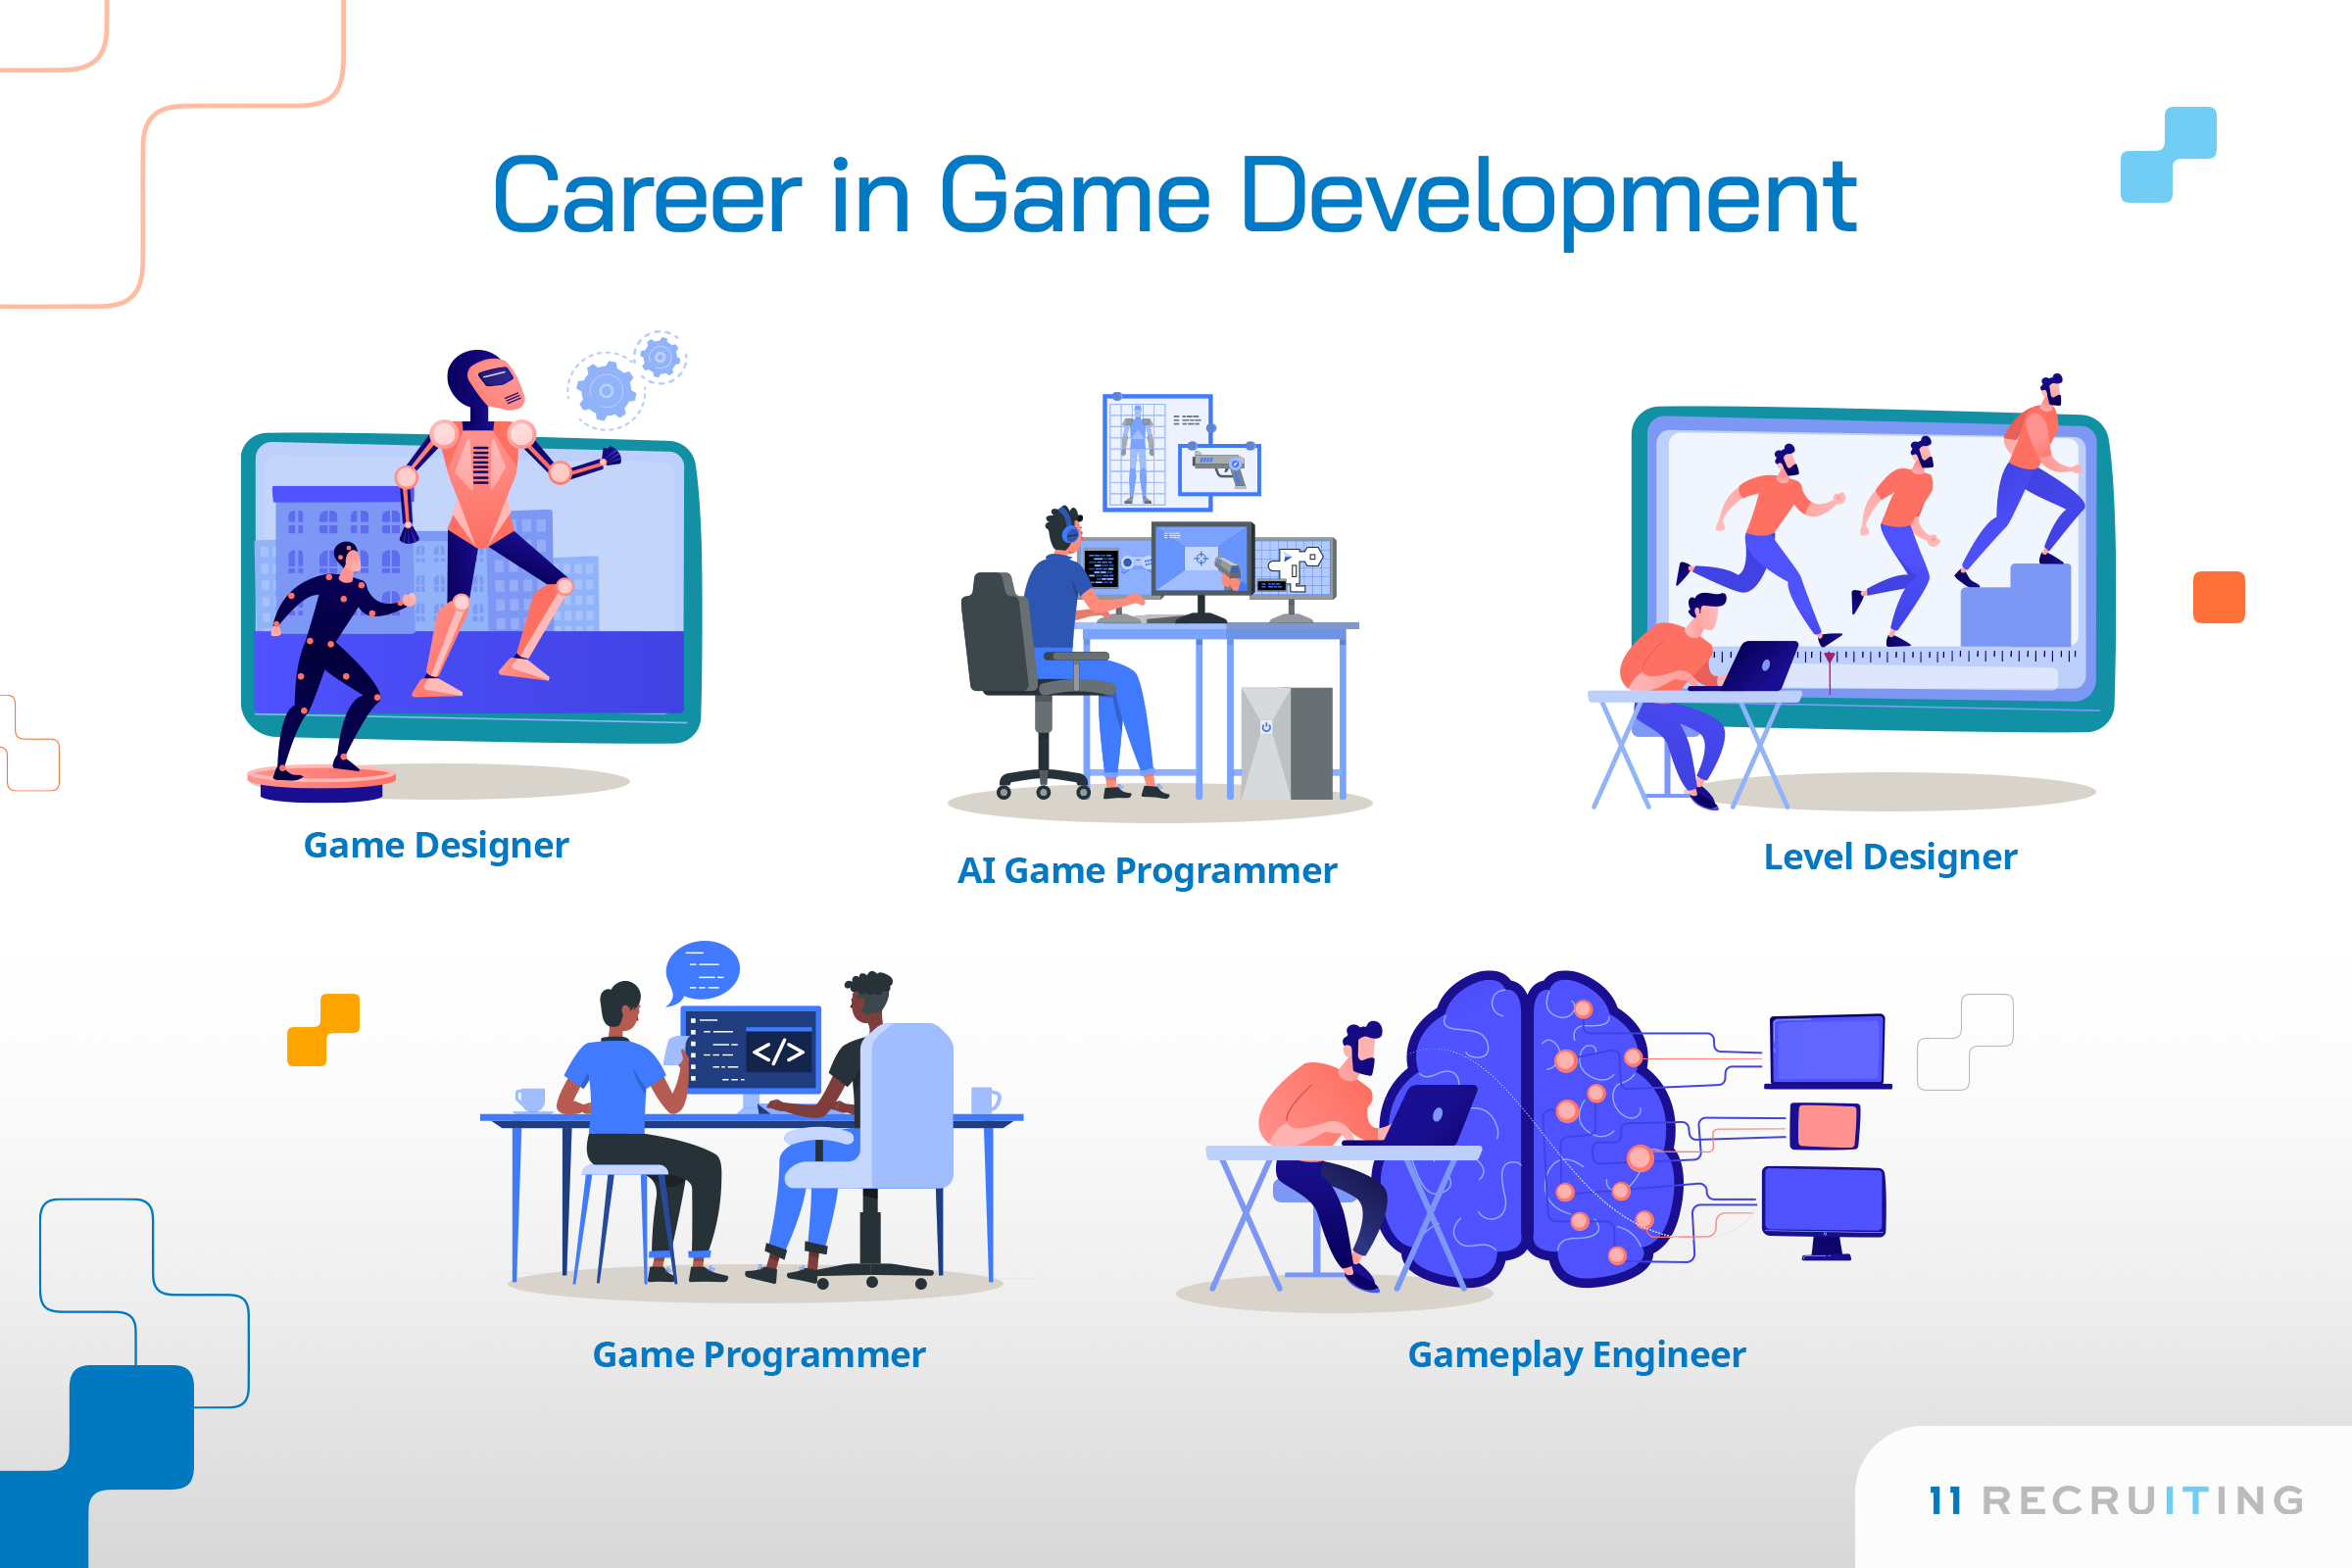
Art and Graphics in Game Development: Mastering Blender and Photoshop


Being a young game creator, I've always been fascinated by how images can create a truly immersive gaming experience. Virtual worlds are significantly enhanced by the use of art and visuals, which range from magnificent scenery to well crafted figures. I set out to investigate the worlds of Blender and Photoshop, two essential tools in the game production industry, as part of my mission to become an expert tool user. Come along as I talk about my experiences, learnings, and discoveries while pursuing my passion of creating art and graphics for video games.

Understanding the Importance of Art and Graphics


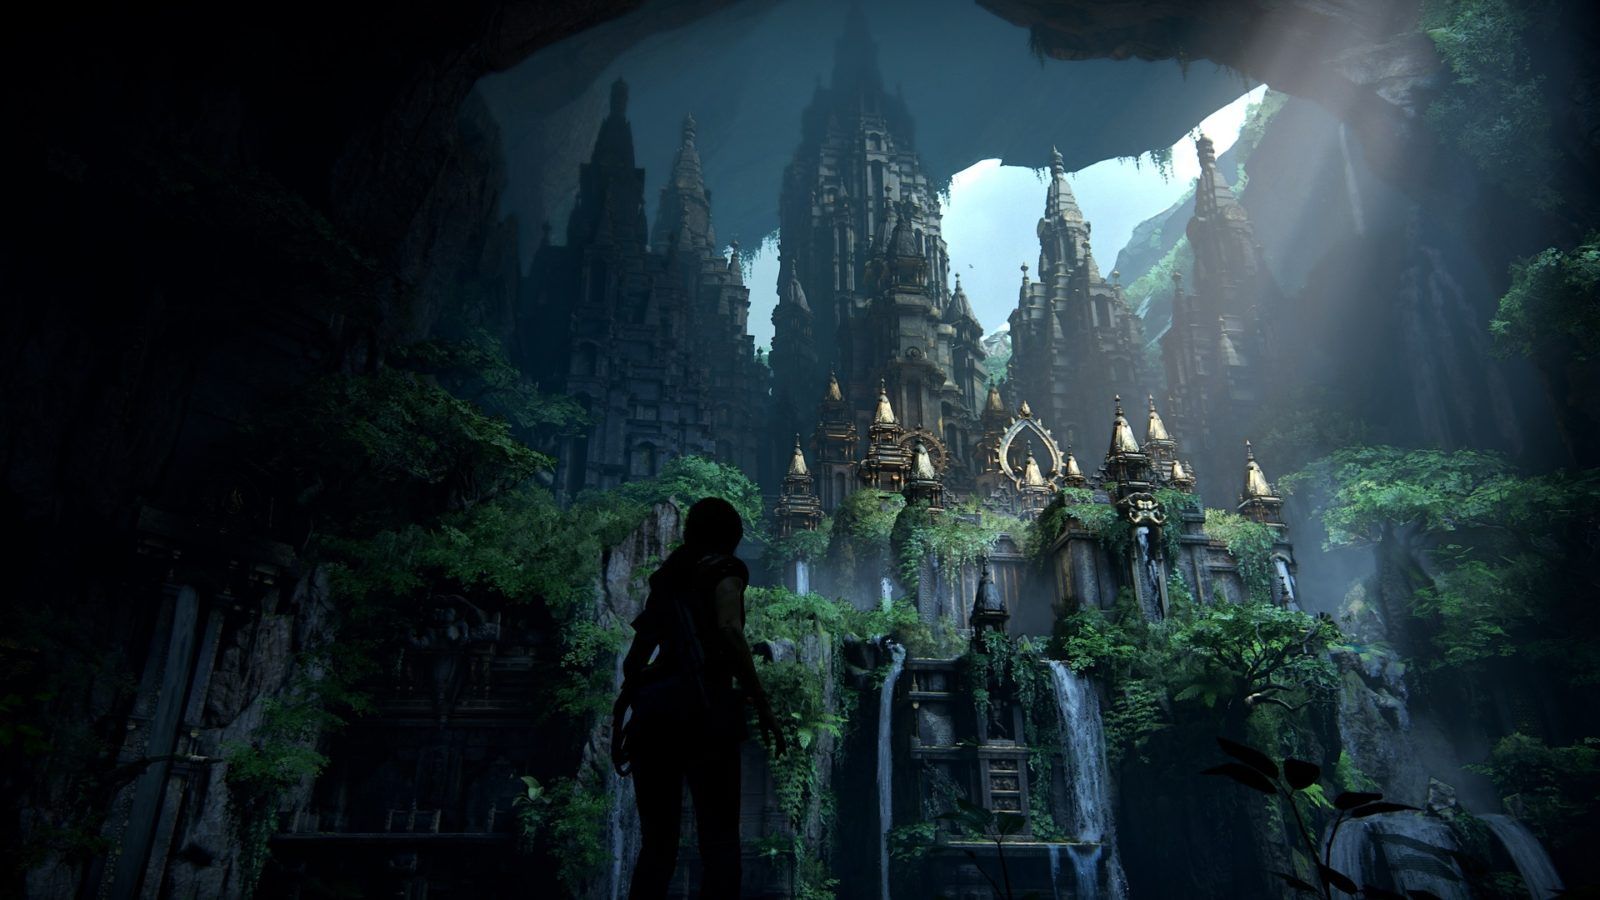
It's important to grasp the importance of art and visuals in game development before diving into the specifics of Blender and Photoshop. Beyond simple aesthetics, art and visuals are effective narrative instruments that arouse feelings in viewers, transport them to fantasy settings, and improve gameplay. The ability to create realistic locations, compelling characters, and eye-catching visual effects are just a few of the skills required of ambitious game developers looking to establish themselves in the business.

Starting the Adventure with Blender


Blender, an accessible and widely used open-source 3D modeling and animation program, was the beginning of my artistic and graphic adventures in game creation. With an insatiable curiosity and need for information, I dove into Blender's UI, exploring all of its features and functions with awe and delight. Blender gave me the freedom to let my imagination run wild and create three-dimensional things and sculptures, both organic and complex.


Exploring the World of 3D Modeling


The creation of three-dimensional digital representations of objects, characters, and settings is the core of Blender's 3D modeling process. I learnt how to give my works life by using a combination of extrusion, sculpting, and texturing techniques to create intricate landscapes, lifelike figures, and breathtaking structures. I improved my abilities and broadened my portfolio with every assignment, pushing the limits of my imagination by playing with various subjects, styles, and genres.


Mastering Texturing and Materials


In the realm of 3D modeling, texturing and materials play a crucial role in adding depth, realism, and personality to virtual objects. With Blender's powerful texturing tools at my disposal, I embarked on a journey to master the art of applying textures, mapping UVs, and creating realistic materials that brought my creations to life. From weathered stone to shimmering metal, I learned to emulate a wide range of materials, textures, and surfaces, infusing my models with visual richness and authenticity.

Unleashing Creativity with Sculpting and Animation


One of Blender's most powerful features is its sculpting and animation capabilities, allowing artists to manipulate digital clay with intuitive tools and techniques. With Blender's sculpt mode, I sculpted intricate details, added character to my creations, and brought my models to life with dynamic poses and animations. Whether animating characters, simulating physics-based effects, or crafting cinematic sequences, Blender empowered me to unleash my creativity and breathe life into my virtual worlds.

Enhancing Visuals with Photoshop


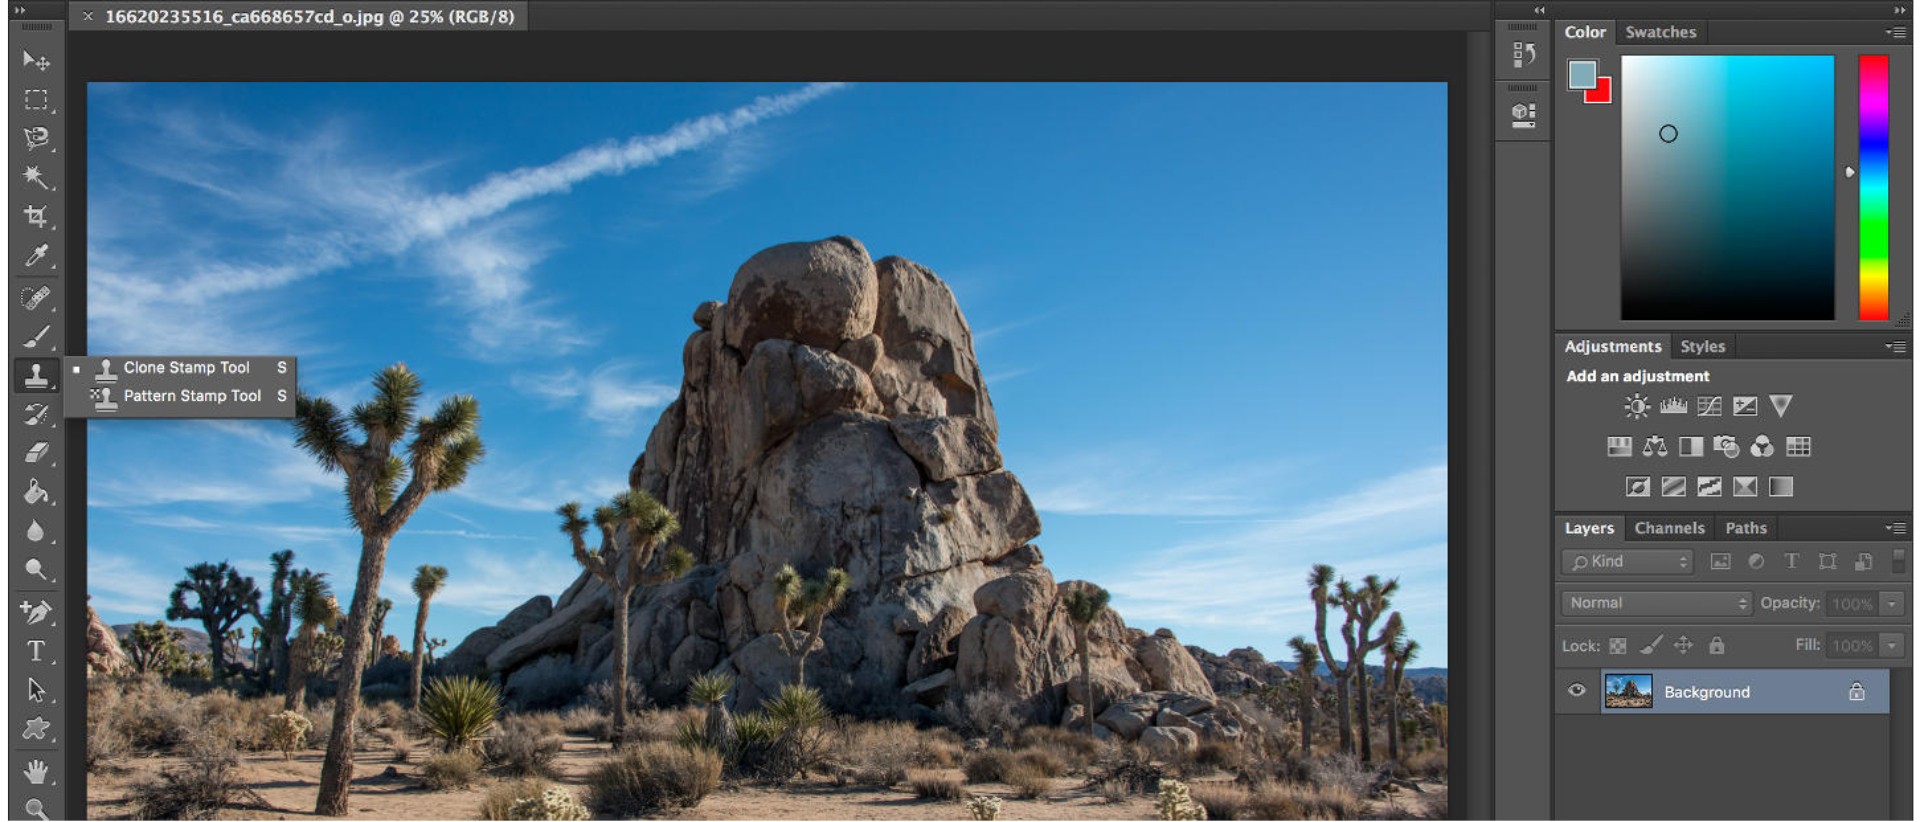
While Blender served as my gateway to the world of 3D modeling and animation, Photoshop emerged as my trusted companion for enhancing visuals, refining textures, and adding polish to my game assets. With its vast array of editing tools and filters, Photoshop enabled me to manipulate images, create custom textures, and design captivating visual effects that elevated the quality of my game graphics to new heights.

Harnessing the Power of Photo Editing


In the realm of game development, photo editing skills are invaluable for refining textures, creating seamless tiling patterns, and enhancing visual fidelity. With Photoshop as my ally, I learned to wield the power of photo editing tools with precision and finesse, seamlessly blending multiple images, adjusting colors and lighting, and creating stunning visual compositions that breathed life into my game worlds.

Creating Stunning Concept Art


Concept art serves as the blueprint for game development, providing visual direction, setting the tone, and igniting the imagination. With Photoshop's digital painting tools at my disposal, I explored the realms of concept art, bringing my ideas to life with vivid colors, bold strokes, and intricate details. From character designs to environmental concepts, Photoshop empowered me to unleash my creativity and transform my vision into breathtaking works of art that fueled the creative process.

Blending Art and Technology


As I delved deeper into the realms of Blender and Photoshop, I discovered the symbiotic relationship between art and technology in game development. While Blender enabled me to create three-dimensional worlds and characters, Photoshop allowed me to refine textures, enhance visuals, and create stunning visual effects that captivated players and brought my game worlds to life. Together, these powerful tools formed the backbone of my creative process, enabling me to bridge the gap between imagination and reality in the virtual realm.

Conclusion


My journey into the world of art and graphics in game development has been nothing short of transformative. Through countless hours of exploration, experimentation, and creative expression, I've honed my skills, expanded my horizons, and unlocked new possibilities in the realm of digital creation. From mastering Blender's 3D modeling and animation tools to harnessing the power of Photoshop's photo editing capabilities, I've gained a deeper appreciation for the artistry and craftsmanship that define the world of game development. As I continue on my journey, I look forward to pushing the boundaries of my creativity, exploring new frontiers, and sharing my passion for art and graphics with fellow creators and gamers alike.
How to Add a Delay to Execute a Code After Sometime in Android Studio? Handler Class

Hi there! I'm delighted to share with you today a cool approach I discovered for utilizing a Handler to add a delay to code execution in Android Studio. Now let's get started.

handler to delay a code

To begin with, why would we wish to introduce a delay in the way the code executes? Well, sometimes we have to hold off on running some code till a particular thing happens or until a certain condition is satisfied. Delays are useful in situations like that.

In Android Studio, we can achieve this using a Handler. Here's how:

Handler handler =  new Handler(); //Can also be called in class variables to use in different methods
handler.postDelayed(new Runnable() {
@Override
    public void run() {
        if (anyInt == 1 || !anyString.isEmpty){ //any condition of your choice
            //Execute the code Here
        }
    }
}, 1000);//Delay Time in Milliseconds, 1000 = 1 sec

Let's break it down step by step:

  1. We start by creating a new Handler object and calling its postDelayed method.

  2. Inside postDelayed, we pass a new Runnable object. This is where our delayed code will be executed.

  3. In the run method of the Runnable, we put the code that we want to execute after the delay.

  4. In this example, we're checking if the item count is equal to

  5. The 1000 parameter passed to postDelayed represents the delay in milliseconds. So in this case, our code will be executed after a 1000 millisecond (1 second) delay.

  6. And there you have it! Adding a delay in executing code using a Handler in Android Studio is as simple as that. Happy coding!

How to Change between Scenes in Unity with Fade Animation and also How to create Custom Game Icon.


Understanding Unity Scene Manager:

Unity’s scene manager allows you to organize your game into different scenes. Each scene represents a specific part of your game (e.g., main menu, gameplay, settings).

Scenes help keep your project modular and maintainable. You can load, unload, and switch between scenes seamlessly.    

Creating Scene Layouts:

Start by planning your game’s structure. Identify which scenes you need (e.g., menu, level selection, gameplay, credits).

Use Unity’s scene editor to design each scene. Arrange objects, set lighting, and position cameras appropriately.

Ensure that each scene has a clear purpose and layout. For example:Main Menu Scene: Display buttons for starting the game, accessing settings, and quitting.
     Gameplay Scene: Set up the game environment, player character, enemies, and obstacles.
     Transition Scenes: These scenes handle transitions (e.g., fading in/out) between other scenes.

Wanna learn more unity game development and blender 3D animation, Stuff Creation, Software tutorials. Subscribe the channel and press the Bell so you never miss on any new Guide.

Posted in  on November 22, 2024 by Reed |  

How to Create Intro/Splash Screen in Unity

Greetings, fellow creators of video games! I'm thrilled to offer my knowledge on using Unity to create a stylish splash screen or intro activity today. Let's get started straight away with a few clear-cut, actionable measures to get you moving in the right direction.

Step 1: Open Unity and Create a New Project

Open Unity and create a new project or open an existing one where you want to add the splash screen. This will serve as the canvas for our creative endeavor.

Step 2: Design Your Splash Screen

Design your splash screen using your preferred design tool or Unity's built-in tools. Keep it simple, eye-catching, and reflective of your game's theme or brand.

How to Create Intro/Splash Screen in Unity

Step 3: Import Assets into Unity

Once your splash screen is ready, import it into your Unity project. Ensure it's in a format compatible with Unity (PNG, JPG, etc.) and place it in an appropriate folder within your project.

Step 4: Create a New Scene

Create a new scene in Unity specifically for your splash screen. This will keep things organized and separate from your main gameplay scene.

Step 5: Set Up the Splash Screen Scene

In the new scene, set up your splash screen image as the main focal point. Create a UI Canvas and add an Image component, then assign your splash screen image to it.

using UnityEngine; using UnityEngine.UI; public class SplashScreenController : MonoBehaviour { public Image splashScreenImage; void Start() { // Display splash screen image splashScreenImage.gameObject.SetActive(true); } }

Step 6: Adjust Canvas Settings

Fine-tune the canvas settings to ensure your splash screen displays correctly on different screen sizes and resolutions. Adjust the Canvas Scaler component as needed.

Step 7: Add Animation (Optional)

Add animations or transitions to your splash screen to make it more engaging. Use Unity's Animation system to animate UI elements for a polished look.

Step 8: Set Splash Screen Duration

Determine the duration you want your splash screen to display before transitioning to the main menu or gameplay scene. Add a timer or use Unity's coroutine system to control the duration.

Step 9: Implement Scene Transition

Once the splash screen duration is up, transition to the next scene. Use Unity's SceneManager class or add a script to handle the transition seamlessly.

using UnityEngine; using UnityEngine.SceneManagement; public class SceneTransition : MonoBehaviour { public string nextSceneName; public float transitionDelay = 3f; void Start() { Invoke("LoadNextScene", transitionDelay); } void LoadNextScene() { SceneManager.LoadScene(nextSceneName); } }

That's it, folks! With these simple steps, you can create a captivating splash screen or intro activity in Unity to wow your players right from the start. Happy game developing!

Posted in  on November 22, 2024 by Reed |  

How to Start Game Development in India?

Introduction

Becoming involved in game creation in India is a thrilling and fulfilling undertaking. The opportunity to follow your love for developing interactive experiences has never been greater, with the game industry growing and a multitude of tools at your disposal. We'll go over the crucial actions and tools to get you started on your game development adventure in India in this extensive tutorial.


Recognizing the Indian Gaming Landscape: It's important to recognize the distinctive characteristics of the Indian gaming business before venturing into the realm of game production. India's gaming market has grown at an exponential rate in the last several years because to a number of causes including a growing number of young people who like gaming, expanding internet access, and smartphone adoption.  According to industry reports, India is poised to become one of the world's top gaming markets, presenting ample opportunities for aspiring game developers.

Getting Started with Game Development:

 Learn the Basics:
        Before diving into game development, it's essential to acquire a solid understanding of the fundamentals. Familiarize yourself with programming languages commonly used in game development, such as C++, C#, or Java. Online platforms like Coursera, Udemy, and Khan Academy offer a plethora of courses and tutorials to help you get started.

Choose Your Tools:
        Selecting the right tools and software is crucial for game development success. Popular game engines such as Unity and Unreal Engine offer powerful features and extensive documentation, making them ideal choices for beginners. Additionally, tools like Blender for 3D modeling and Adobe Photoshop for graphics design can complement your game development toolkit.

Join Communities and Networking:
        Connecting with fellow game developers and enthusiasts can provide invaluable support and guidance on your game development journey. Join online forums, social media groups, and local meetups to network with like-minded individuals, share knowledge, and collaborate on projects. Platforms like Discord, Reddit, and LinkedIn offer vibrant communities for game developers in India.

Start Small and Iterate:
       Start off small with prototypes and tiny initiatives while developing games. Concentrate on improving your abilities and trying out various game genres and systems. Try your hand at some basic 2D games or mobile applications before moving on to more difficult tasks. Keep in mind that creating games is an iterative process where every project is a chance to learn and get better.

Leverage Indian Resources and Support:
        Take advantage of the numerous resources and support systems available to game developers in India. Organizations like the National Association of Software and Service Companies (NASSCOM) and the Indian Game Developers Conference (IGDC) provide platforms for networking, skill development, and industry insights. Additionally, government initiatives such as the Digital India program and Startup India offer support for budding game developers.

Focus on Portfolio Development:
        As you improve as a game developer, concentrate on creating an impressive portfolio that highlights your work and accomplishments. To demonstrate your abilities to prospective employers, partners, or investors, a carefully maintained portfolio is necessary. To showcase your skills and inventiveness, provide project descriptions, gameplay videos, and screenshots.

Stay Updated and Adapt:
        The gaming industry is dynamic and ever-evolving, with new technologies and trends emerging regularly. Stay updated on the latest developments in game development tools, techniques, and market trends. Continuously expand your skillset and adapt to changing industry demands to remain competitive and relevant in the Indian gaming ecosystem.

Embrace Cultural Diversity:
        India's rich cultural heritage and diverse traditions offer a wealth of inspiration for game developers. Explore themes, narratives, and aesthetics rooted in Indian mythology, folklore, and history to create unique and immersive gaming experiences. Embracing cultural diversity not only adds depth and authenticity to your games but also resonates with Indian audiences and global players alike.

Collaborate and Partner:
        Collaboration is key to success in the game development industry. Seek opportunities to collaborate with other developers, artists, musicians, and writers to pool resources and expertise. Consider partnering with local game studios, educational institutions, and industry organizations to access mentorship, funding, and distribution channels. Building strong partnerships can accelerate your growth and open doors to exciting opportunities in the Indian gaming ecosystem.

Explore Market Trends and Opportunities:
        Stay informed about market trends and emerging opportunities in the Indian gaming industry. Keep an eye on popular genres, player preferences, and monetization models to tailor your game development strategies accordingly. With the rise of mobile gaming, esports, and augmented reality (AR) technologies, there are ample avenues for innovation and growth in the Indian gaming market. Conduct market research, analyze consumer behavior, and adapt your game concepts to align with market demands and player preferences.

Monetization Strategies:
        As you progress in your game development journey, explore various monetization strategies to generate revenue from your games. Consider options such as in-app purchases, subscription models, ad-based monetization, and premium game sales. Evaluate the pros and cons of each monetization method based on your target audience, game genre, and revenue goals. Experiment with different monetization strategies to find the right balance between profitability and player satisfaction.

Seek Feedback and Iterate:
        Feedback is essential for refining your game development skills and improving the quality of your games. Engage with players, fellow developers, and industry experts to gather feedback on your game prototypes and projects. Embrace constructive criticism and use it as fuel for iteration and improvement. Incorporate player feedback into your design decisions, gameplay mechanics, and user experience to create games that resonate with your audience and stand out in the competitive market.

Stay Resilient and Persistent:
        Game development is a challenging and competitive field that requires resilience, determination, and perseverance. Be prepared to face obstacles, setbacks, and failures along the way, but don't let them deter you from pursuing your passion. Stay focused on your goals, continue learning and growing as a developer, and maintain a positive mindset even in the face of adversity. Remember that every setback is an opportunity for growth, and every success is a testament to your hard work and dedication.

Conclusion

Aspiring developers have many opportunity to express their creativity, invent, and leave their mark in the thriving gaming industry as they start their game development adventure in India. Aspired developers may create their own road to success and further the development of interactive entertainment globally by adhering to the guidelines provided in this book and accepting the special opportunities and difficulties present in the Indian gaming industry. There are countless opportunities and limitless potential in the area of game development in India, regardless of your experience level.

Posted in  on November 22, 2024 by Reed |  

How do I Start Game Development: A Comprehensive Guide

Have you ever dreamed of creating your very own video game? Picture this: you're the mastermind behind the screen, crafting characters, designing breathtaking landscapes, and orchestrating thrilling adventures. Well, guess what? You're not alone! There's a whole community of dreamers and doers just like you, and I'm here to guide you on your journey into the captivating world of game development.

What Exactly is Game Development?

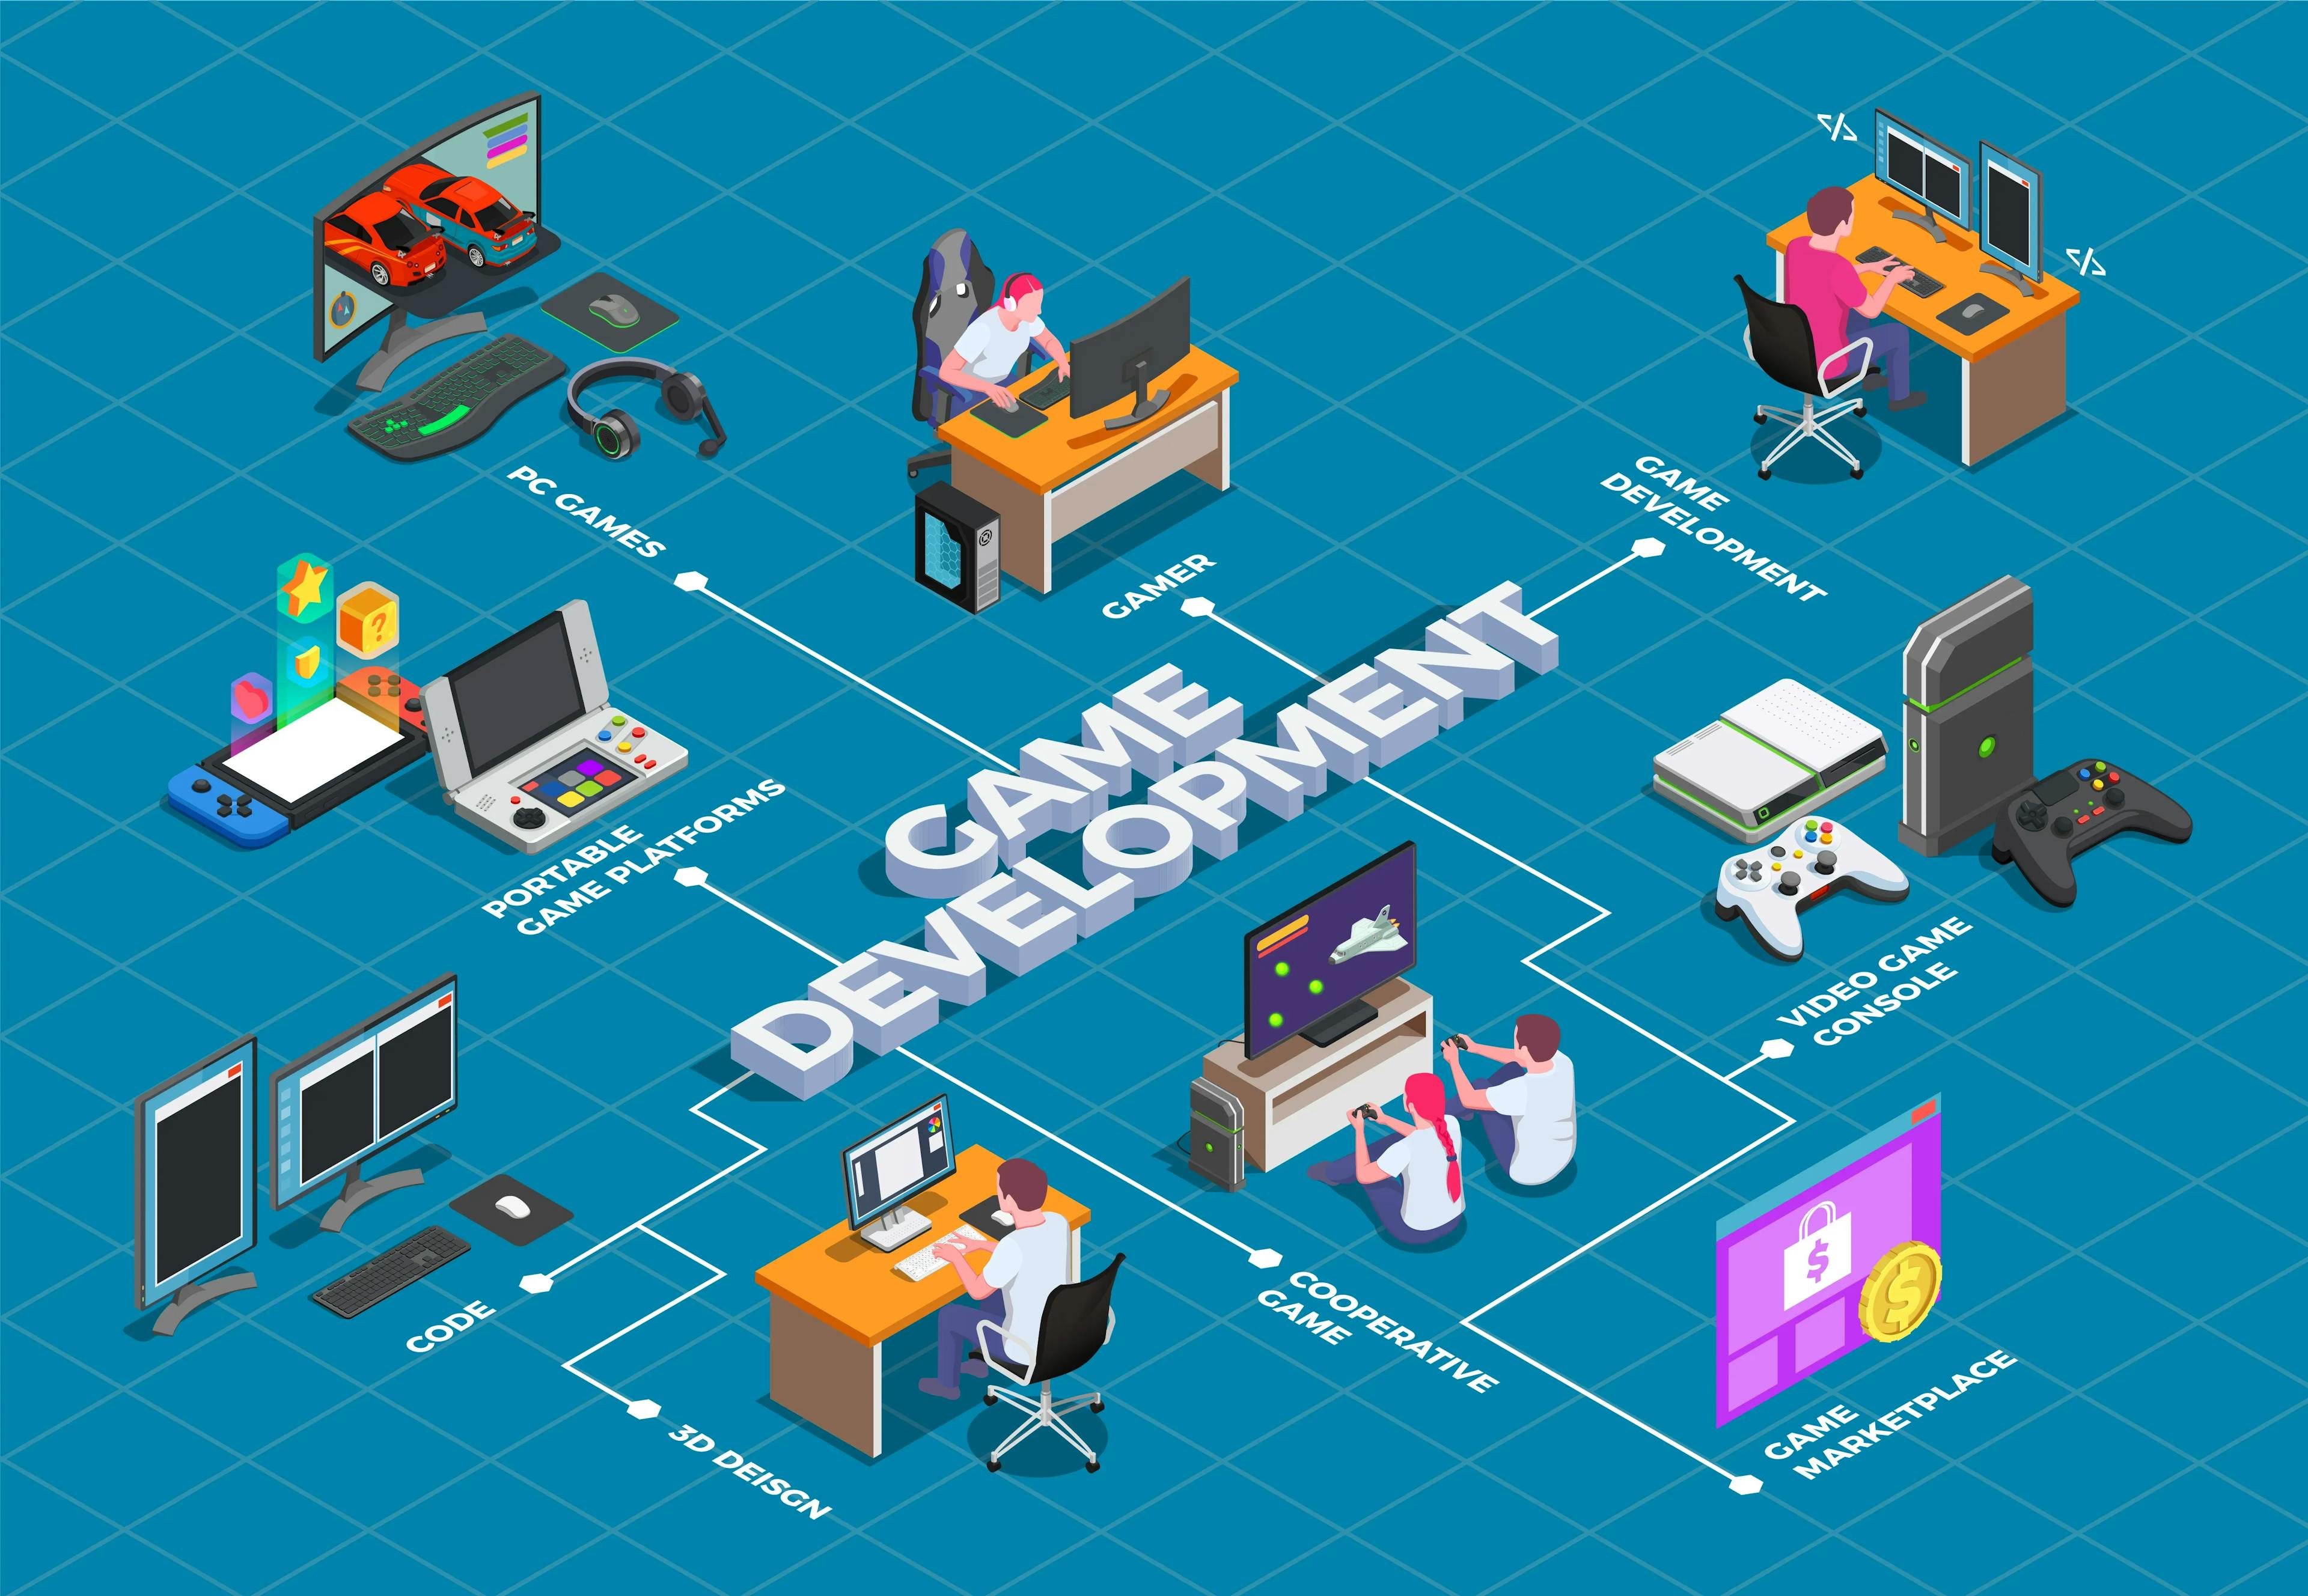
Consider the creation of video games as the pinnacle of artistic and technological fusion. It is like to using a magic wand to summon whole virtual universes. You'll delve into the worlds of storytelling, character development, music production, painting, and code expertise. It is similar to directing a film, but with the excitement of interactive elements!


Getting Started: Your Game Plan

So, you're eager to dive into game development? Here's your roadmap:

Learn to Code: Think of coding as the language of computers. It's your passport to bringing your game ideas to life.
Pick Your Tool: There's a toolbox filled with specialized software to help you build games. Start with one that feels comfortable and user-friendly.
Start Small: Rome wasn't built in a day, and neither are games! Begin with a simple project to hone your skills.
Study the Fun Factor: Explore what makes games tick. Dive into the mechanics that keep players glued to their screens.
Share Your Creations: Don't keep your games all to yourself! Share them with friends, family, and fellow enthusiasts.
Join the Community: Surround yourself with like-minded individuals in game development communities. Learn from their experiences and share your own triumphs and challenges.

Choosing Your Arsenal: Game Development Tools

There's a vast array of tools at your disposal for crafting games. Here are a few popular options:

Unity: A beginner-friendly platform favored by many aspiring game developers.
Unreal Engine: The go-to choice for crafting stunning 3D experiences with advanced graphics.
Godot: A versatile tool embraced by indie developers for its simplicity and flexibility.

Mastering the Art of Coding

To elevate your game-making prowess, delve deeper into coding:

Learn a Language: Just like learning new words, coding languages empower you to communicate with computers effectively.
Game-centric Skills: Dive into the intricacies of game mechanics. Learn how to breathe life into your creations through movement and interaction.

Crafting Your Debut Game: A Step-by-Step Guide

Ready to embark on your maiden game development voyage? Here's your itinerary:

Start with Simplicity: Keep your debut project manageable. It's all about laying a solid foundation.
Blueprint Your Vision: Map out your game's concept and mechanics. Visualize how players will navigate through your digital universe.
Put it to the Test: Roll up your sleeves and playtest your creation. Is it engaging? Is it fun? This is your chance to fine-tune and tweak.
Artistry and Acoustics: Sprinkle your game with eye-catching visuals and ear-pleasing sounds. Let your creativity soar!
Weave the Code: Time to don your coding cape and weave the magic that brings your game to life.
Feedback Loop: Open the gates for feedback. Listen to what players have to say and use their insights to polish your masterpiece.

Where to Expand Your Knowledge

The quest for game development mastery continues with these invaluable resources:

Online Classes: Enroll in courses led by industry experts. Absorb their knowledge like a sponge!
Community Support: Tap into the collective wisdom of fellow game-makers in online forums and communities.
Game Jams: Immerse yourself in the exhilarating world of game jams. These rapid development events are the crucible where ideas turn into reality.

Crafting Compelling Experiences: Game Design Insights

Beyond coding, game development is an art form. Consider these principles:

Fun First: Keep the player experience at the forefront of your design philosophy. Fun is the name of the game!
Level Design: Sculpt immersive environments that beckon exploration and discovery.
User-Friendly Interfaces: Design interfaces that are intuitive and inviting, guiding players seamlessly through your virtual realm.
Monetization Mindset: If commercial success is your goal, strategize on monetization models that align with your game's design and audience.

Testing and Refinement: The Crucible of Improvement

The journey to game perfection entails rigorous testing and iteration:

Self-Testing: Strap on your gaming hat and put your creation through its paces.
Community Feedback: Open your doors to fellow gamers and gather their insights with open arms.
Refinement Process: Embrace feedback as the catalyst for refinement. Every iteration brings you closer to excellence.

Releasing Your Creation into the Wild

The moment of truth has arrived—time to unleash your creation upon the world:
 

Platform Pondering: Choose the platforms that best suit your game's nature and target audience.
Spread the Word: Shout it from the digital rooftops! Let the world know about your labor of love.
Launch Day Extravaganza: Roll out the digital red carpet and bask in the spotlight as your creation takes center stage.
Ongoing Support: The journey doesn't end at launch. Stay vigilant, listen to your community, and continue to nurture and evolve your creation.

Pressing Onward: The Journey Continues

Game development is a voyage filled with twists, turns, and endless possibilities. Embrace the challenges, celebrate the victories, and let your creativity unfurl like a banner in the digital winds. With each keystroke, you're sculpting the interactive landscapes of tomorrow.
Posted in  on November 22, 2024 by Reed |  

Godot vs Unity vs Unreal Engine: Which One Leads?

godot vs unity vs unreal engine

The success and efficiency of your project could be significantly impacted by selecting the game engine, which's a crucial decision, in the vast and ever evolving realm of game development. Unity, Unreal Engine and Godot are often compared by developers—the three powerful game engines available—because of the myriad of possibilities they offer. Each engine caters to a group of developers and projects each, with its unique features, benefits and community support. In this guide we will delve into the specifics of Godot, Unreal Engine and Unity to provide insights that can help you choose the option tailored to your needs and objectives.

Understanding Unity

In the realm of game production, Unity is a titan known for its intuitive user interface, adaptability, and robust community support. Unity enables developers to create engaging 2D and 3D experiences for a variety of platforms, including mobile, PC, console, and augmented reality (AR) and virtual reality (VR) settings. It is an excellent choice for both novice and experienced developers.

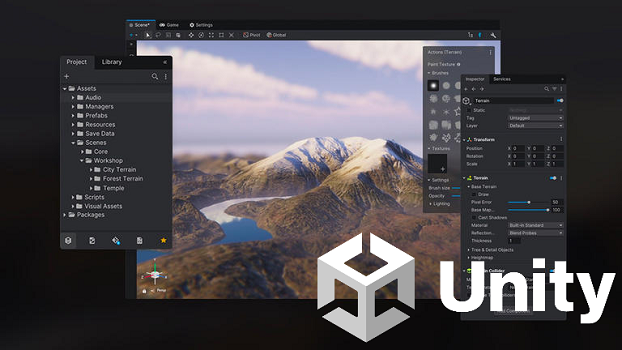
unity editor iamge

Unity's user-friendly visual editor is its core component, providing a smooth process for creating, testing, and releasing games. Unity simplifies development by giving creators ready-to-use tools to speed up their projects. Its extensive asset store has a multitude of pre-made components, scripts, and plugins.

Furthermore, Unity offers game creators unparalleled freedom and control over their projects because to its robust scripting tools, which are powered by the C# programming language. Unity's scripting system provides a multitude of options for customization and creativity, whether integrating third-party libraries, improving performance, or adding complex game dynamics.

Exploring Unreal Engine

Within the game engine space, Unreal Engine stands out as a strong competitor thanks to its state-of-the-art visuals, robust tools, and industry-best visual scripting language, Blueprint. AAA firms and independent developers alike embrace Epic Games' Unreal Engine, which is the go-to engine for producing aesthetically appealing, high-fidelity 3D experiences.

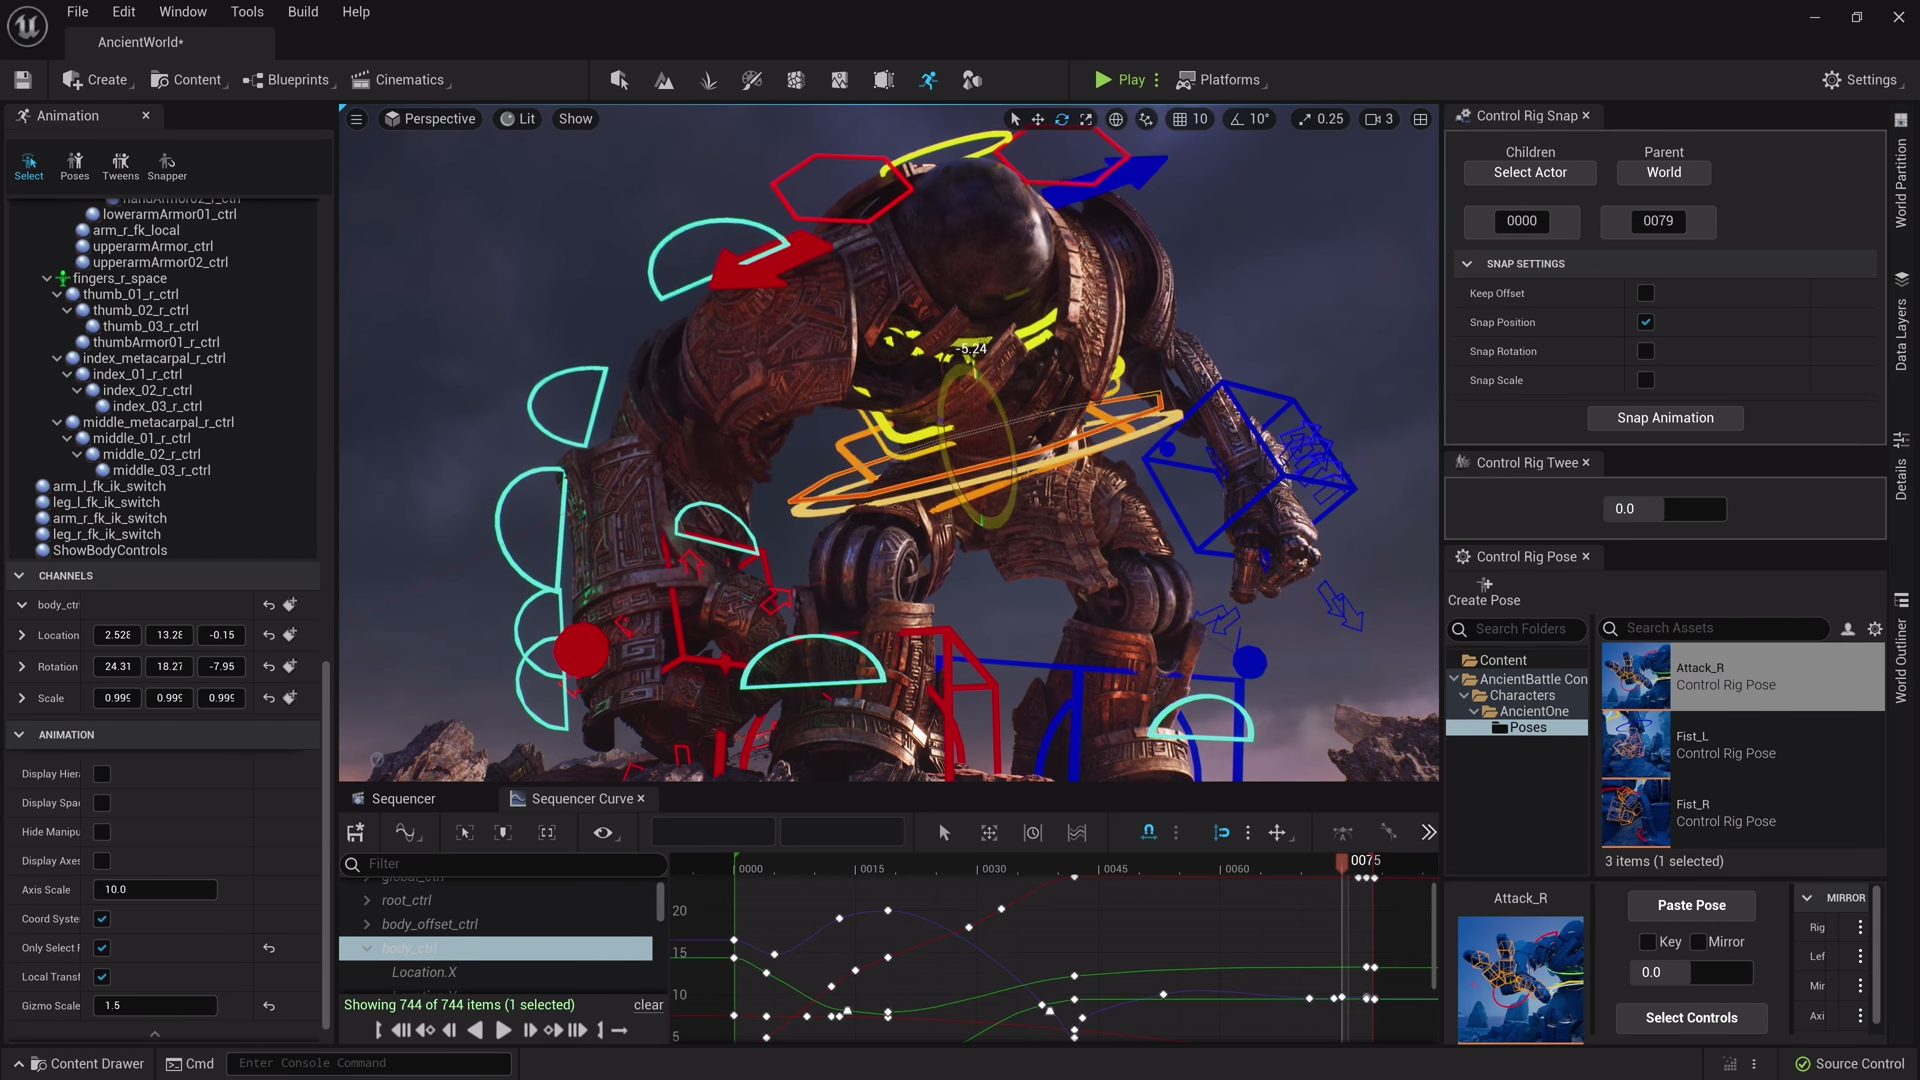
unreal engine 5 editor image

Thanks to the robust Unreal Engine Editor, one of Unreal Engine's most notable characteristics is its ability to produce images in a lifelike manner. With Unreal Engine's sophisticated lighting, materials, and particle effects, developers can push the limits of visual quality and immerse players in stunning virtual environments.

Without writing a single line of code, designers and artists can construct intricate gameplay dynamics and interactions with Unreal Engine's Blueprint visual scripting language, which is revolutionizing game production. With this simple drag-and-drop interface, designers of all experience levels may quickly and effectively realize their ideas.

Furthermore, Unreal Engine's robust physics simulation, audio rendering, and animation tools provide developers with a comprehensive suite of resources to craft immersive and engaging gaming experiences across a multitude of genres and platforms.

Discovering Godot


Godot is a lightweight yet powerful game engine that stands out from its bulky competitors thanks to its open-source design, intuitive user interface, and adaptability. Godot, created by an enthusiastic community of contributors, is a strong substitute for independent game creators looking for a free and open-source game development platform.

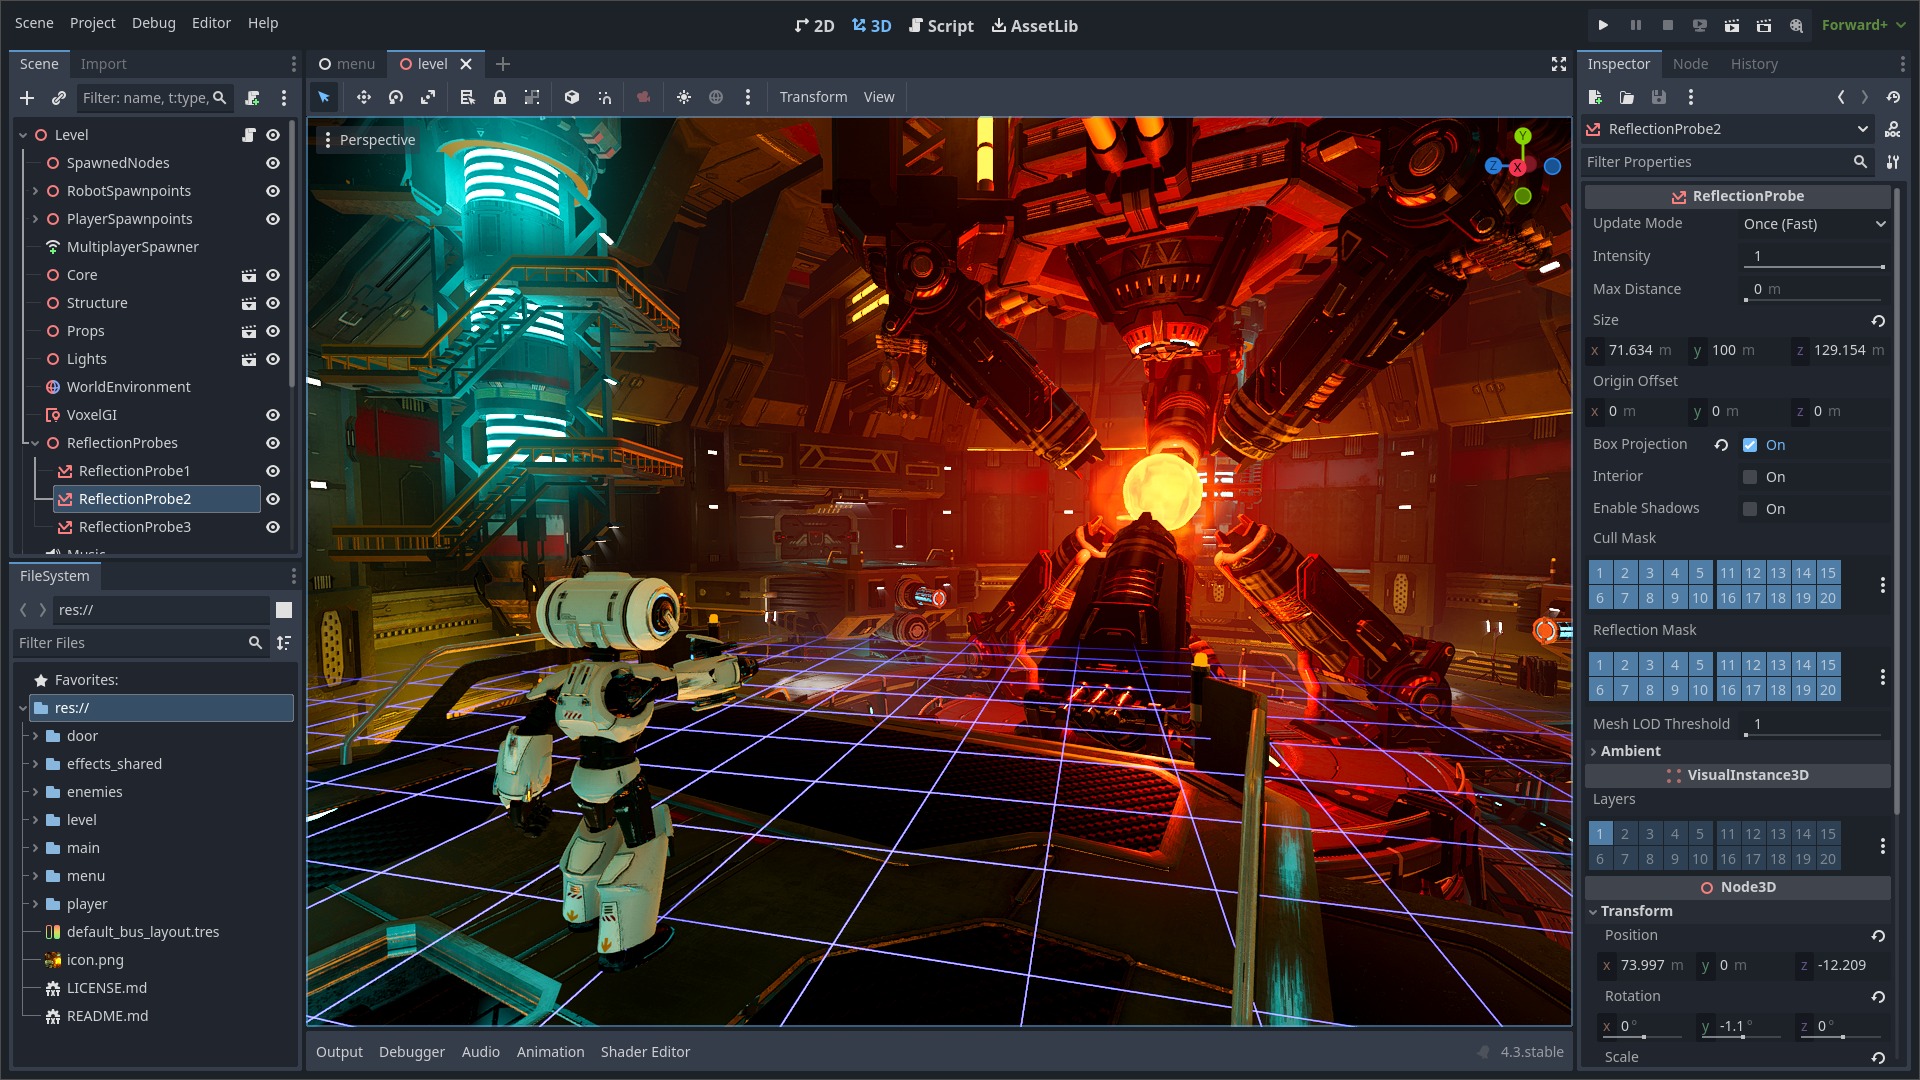
Godot engine overview and editor image

Game developers may more easily organize and control game objects, scenarios, and resources thanks to Godot's user-friendly node-based design. Godot is a visual programming language similar to Unity's, so it's easy for newcomers to pick up the basics while providing more experienced developers with GDScript, a scripting language similar to Python, for extending and customizing features.

Godot is a powerful 2D and 3D rendering tool that supports a large number of operating systems, including Windows, macOS, Linux, Android, iOS, and HTML5. Its small size belies its powerful rendering capabilities. Godot's integrated animation, physics, and particle effects features enable developers to fully express their imaginations and effortlessly realize their ideas.

Choosing the Right Engine for You


The choice between Godot, Unreal Engine, and Unity ultimately comes down to your particular needs, tastes, and project size. Unreal Engine specializes in visual scripting, AAA-caliber productions, and graphical fidelity, whereas Unity excels in accessibility, community support, and cross-platform compatibility. Godot, on the other hand, provides an open-source, lightweight substitute with an intuitive user interface that is perfect for amateurs and independent developers.

Take into account a number of aspects before deciding, including the target platform, budget, team size, and project complexity. Use trial versions, tutorials, and community forums to further investigate the features of each engine and choose the one that most closely matches your goals and vision.

In conclusion, selecting between Unity, Unreal Engine, and Godot is an essential initial step in your game development career, regardless of whether you're starting from scratch or trying to reach new heights with your studio's output. You may enable yourself to make an informed choice that advances your creative pursuits and releases the full potential of your imagination by being aware of the advantages and subtleties of each engine.


Posted in  on November 22, 2024 by Reed |  

How to Sort Items in Recycler View in Android Studio

Greetings, fellow developers of Android! Sorting objects in a RecyclerView is a useful ability that any Android app developer should have in their toolbox, and today I want to share it with you. It's a simple yet crucial feature that can significantly improve your app's functionality and usability. Without further ado, let's get started and see how to use some handy code snippets in Android Studio to sort objects in a RecyclerView.

First, Configure RecyclerView
First things first: confirm that your layout file has a RecyclerView configured. You can quickly add one to your layout by dragging and dropping it from the Palette, if you haven't already.

How to Sort Items in recycler view in Android Studio

Step Two: Make a Data Model
After that, a data model is required to symbolize the objects in your RecyclerView. A straightforward POJO (Plain Old Java Object) class that has the information for every item might be this. If you wish to arrange the objects according to specific parameters, make sure your data model implements the Comparable interface.

Fill Up Your RecyclerView in Step Three

To test the sorting feature, now add some fake data to your RecyclerView. Making an Adapter class that extends RecyclerView will allow you to accomplish this.adapter and adding your data to it.

Fourth, Put Sorting Logic into Practice
Now for the exciting part: putting the sorting logic into practice! You can use other criteria to sort the objects, like numerical value, alphabetical order, or custom sorting rules, depending on what you need.

Let's take an example where you wish to arrange the objects according to their names in alphabetical order. This may be accomplished by handing in a Comparator that compares the item names when invoking the sort() method on your list of items.

Collections.sort(itemList, new Comparator<Item>() { @Override public int compare(Item item1, Item item2) { return item1.getName().compareTo(item2.getName()); } });

Alternatively, if you want to sort the items based on a numerical value, you can modify the Comparator accordingly.

Collections.sort(itemList, new Comparator<Item>() { @Override public int compare(Item item1, Item item2) { return Integer.compare(item1.getValue(), item2.getValue()); } });

Step 5: Notify the Adapter of Changes Once you've sorted your list of items, don't forget to notify the RecyclerView.Adapter of the changes so that it can update the UI accordingly.

adapter.notifyDataSetChanged();

And that's it – you've successfully implemented sorting functionality in your RecyclerView! Now you can sit back, relax, and admire your handiwork.

Finally
Being able to sort objects in a RecyclerView is a useful ability for Android developers, and once you know how, it's surprisingly simple to do. You may improve your app's user experience and show off your attention to detail to users by simply following the steps in this article and experimenting with different sorting criteria. So feel free to experiment and have fun with coding!

Posted in  on November 22, 2024 by Reed |